
So here is my favorite way to gift those colorful bottle brush trees I shared last week. It’s an updated version of the DIY snow globes I first shared a few years ago, and I love how the pop of color makes them modern and super fun. Here’s how to make your own.
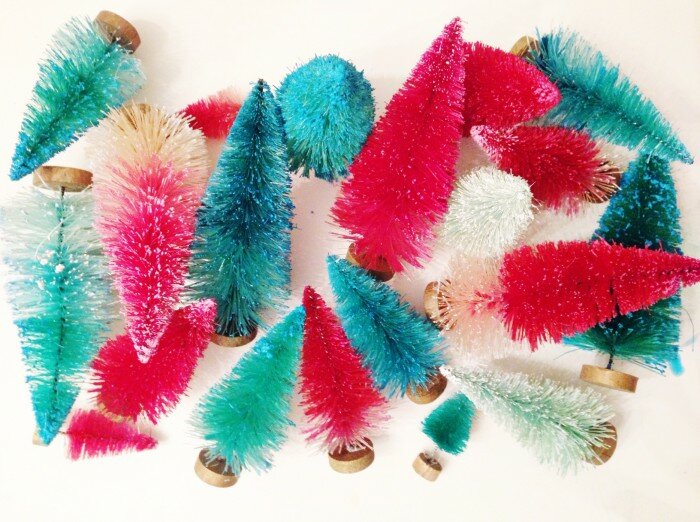
First, you need to follow this tutorial on bleaching your bottle brush trees.
Next you need to follow this one on dip dyeing your bleached trees different colors.
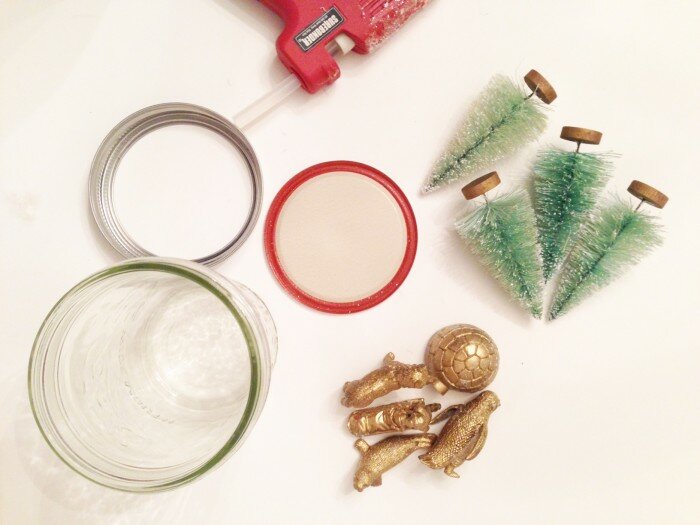
What you’ll need:
- mason jars (any type or size is fine as long as your trees fit in the jar)
- bottle brush trees
- snow
- metallic, colorful, or chalkboard spray paint (whatever look you prefer)
- mini arctic toy animals
- glue gun & glue sticks
Step 1: Spray paint your animals, trees (I sprayed some gold and left some natural) and your mason jar lids and rings (I left some silver and sprayed some gold)
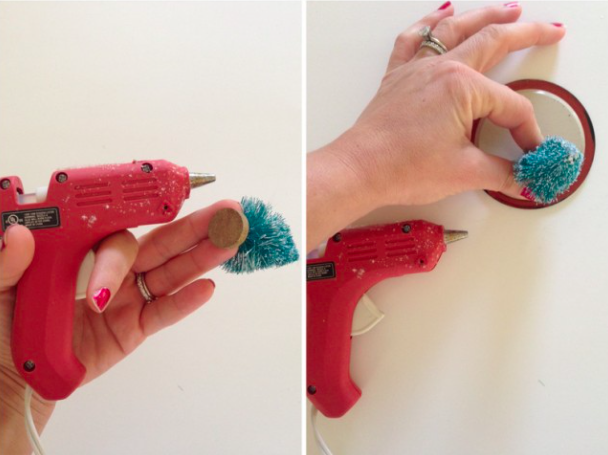
Step 2: Heat up your glue gun. Put a dollop of glue on the bottom of your tree and press it into the inside of the mason jar lid.
Step 3: Continue doing this until you’ve placed whatever decor of trees or animals that you want for your globe on the lid. Then squeeze a very small amount of glue along the inside of the lid ring.
Step 4: Place the decorated lid inside the glued ring and press down.
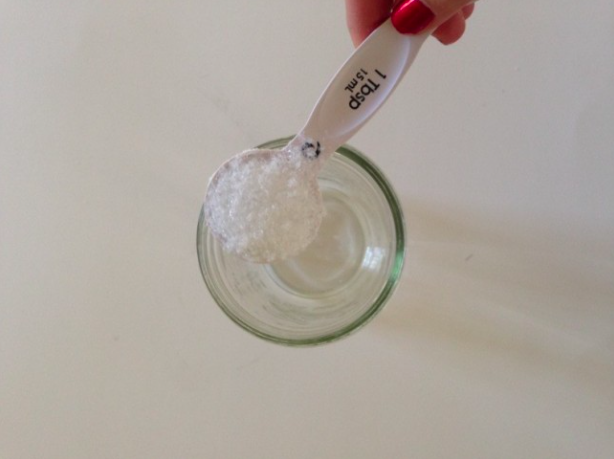
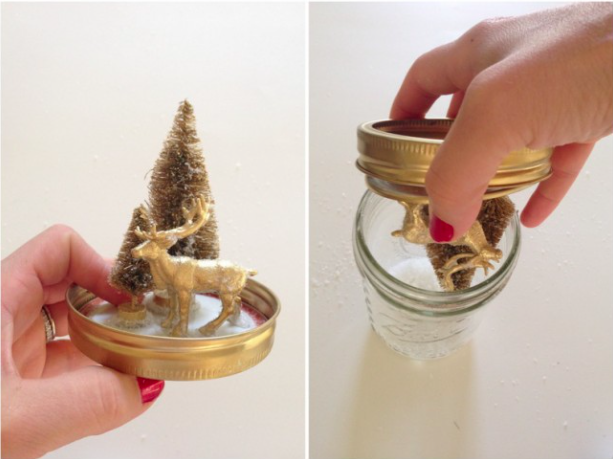
Step 5: Next you need to add your snow to the jar. For a small jelly jar-sized mason I used one tablespoon of snow. For a half pint-size I used two. For the larger full pint mason, I used 4. Then screw the decorated lid into the snow-filled mason jar.
Step 6: Flip the mason jar, to create the “snow globe.”
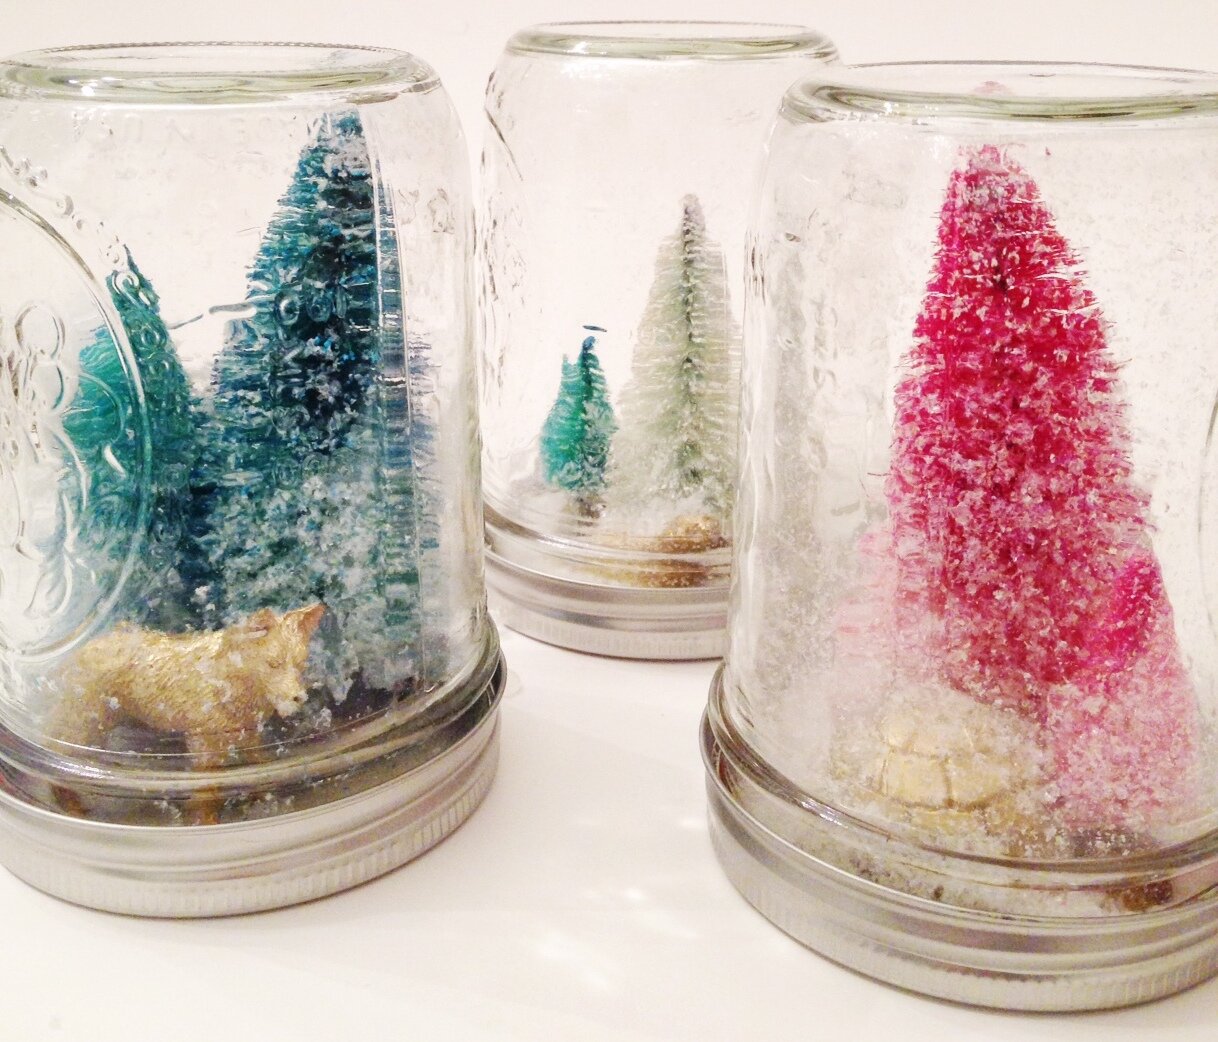
Wonderful! Very creative.
The pop of colors are fantastic; I love the bright pinks and blues!
I love this, but I’m a bit confused. Do you not add water to the jar?
Do you put any water in the jars?
Do you add water?
I am wondering the same thing about the water???