Today’s DIY is fun, super easy, and totally FREE. Yep, I said free. I paid ZERO dollars for my materials. What’s better than an awesome DIY that’s free?
So let’s start with your materials.

{what you need}
scissors
double sided tape or washi tape
bottles
paint chips
do you see why this DIY is basically free? I already had scissors and tape, I stocked up on paint chips for my DIY projects during my last walmart visit, and I saved the bottles from drinks we had in our house.

You could use vintage bottles if you have them, or you can just collect bottles like I did. I used the Trader Joe’s root beer bottles. And you can leave the adhesive on them because it helps hold the paint chip in place.

{how you do it}
Seriously, I think my 21 month old kid could do this. I would let him try, but he throws things and the bottles are glass – not great parenting. But trust me, this is beyond E-A-S-Y.
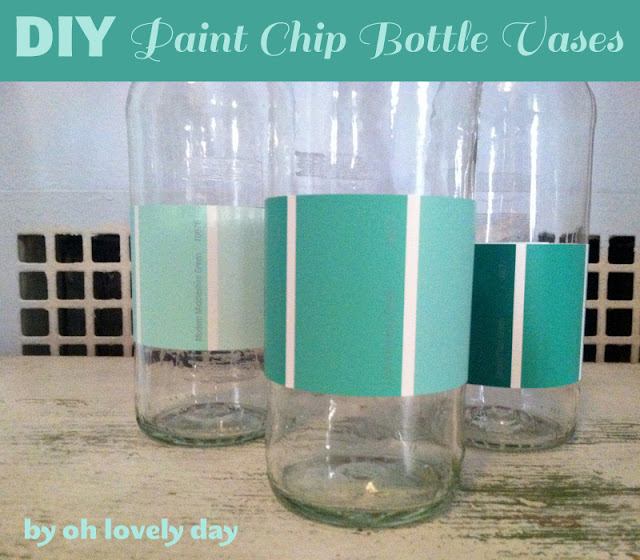
{Step 1} Take one end of the paint chip and secure it with double side tape onto the bottle.
{Step 2} Wrap the paint chip around the bottle.

{Step 3} Secure the second end of the paint chip with double side or washi tape. You could cut to size or just let it overlap. I overlapped mine.
{Step 4} Repeat steps 1-3 for as many bottles as you want to make.

I think these are cute for a party or a shower as well as a wedding. If you do them for a wedding and have lots of them you could do a few different things:
~use multiple colors of the paint chips from your palette
~ you could vary the size of the bottles (these long & skinny paint chips would fit around some wine bottles too)
~use different color bottles (think these clear ones mixed with vintage aqua bottles)
~you could alternate the height placement of the paint chips on the bottles
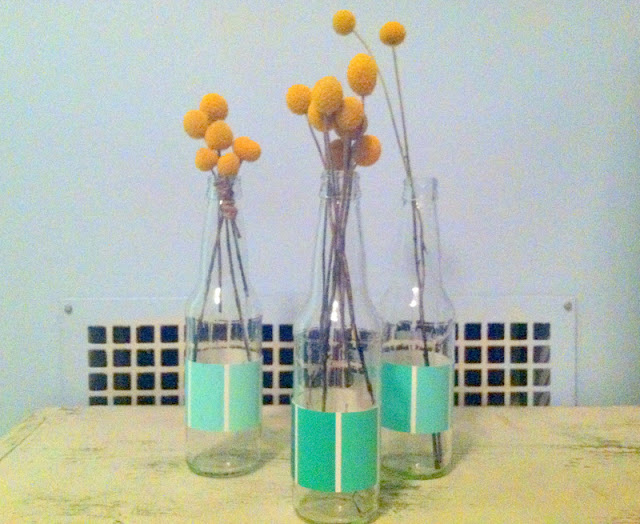
I’m loving the finished product. There is nothing better than a DIY that looks great, costs almost nothing, and takes less than 5 minutes! So, what do you think of my paint chip bottle vases?
Share
Super cute! And you know me, I’m a sucker for ombre, and paint sample strips are naturally ombre!!! 🙂